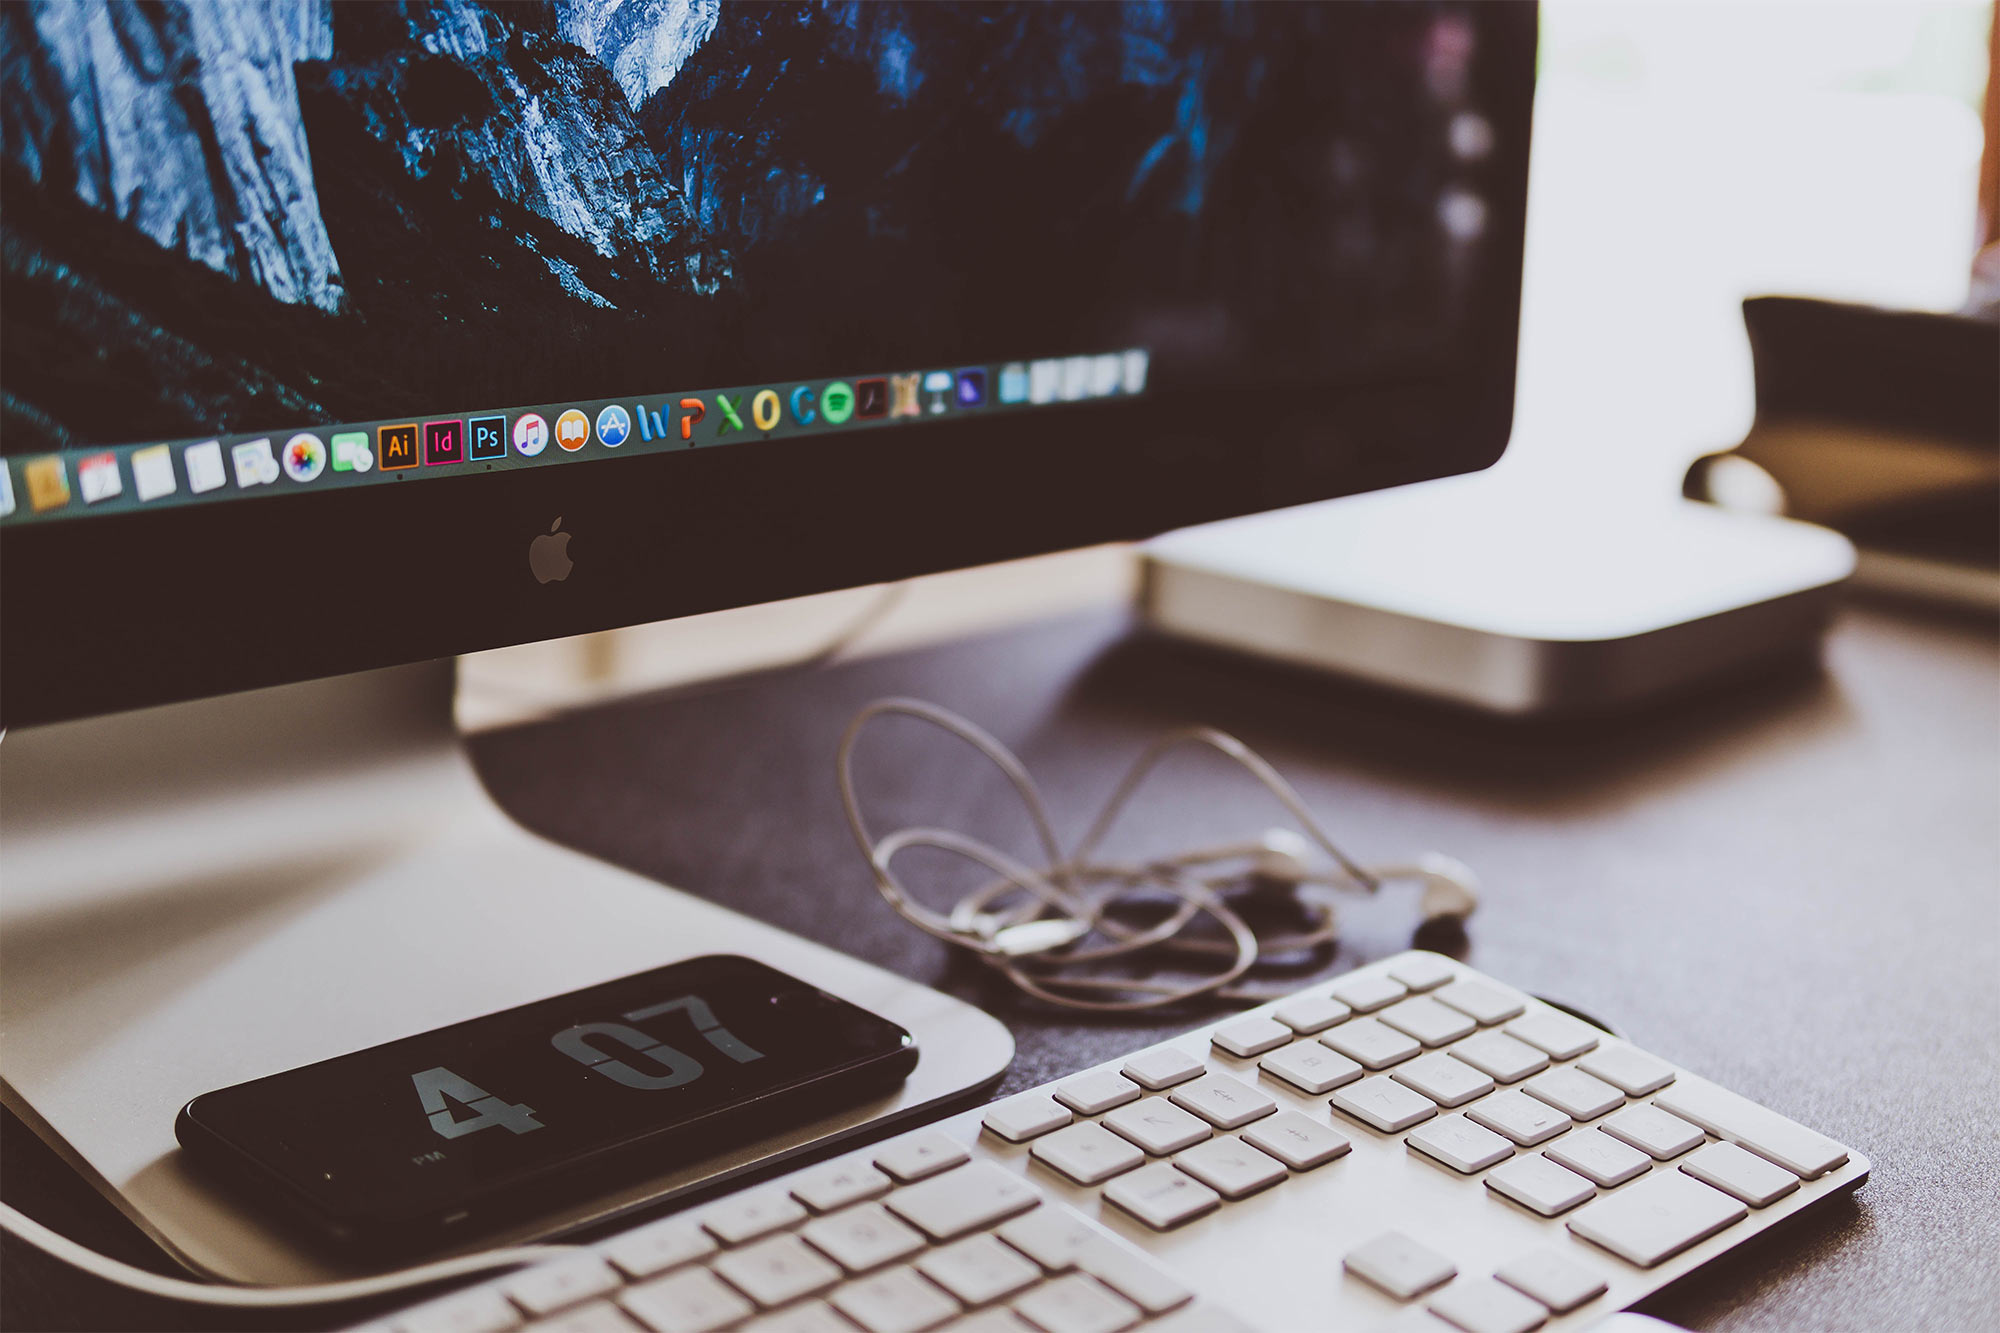
 I took this photo of my friend Molly when we were having a work day at a local coffee shop.
I’ve been a professional editor now for about 8 years. I do my best to work with each photographer’s workflow, and truthfully almost every photographer I work with has a slightly different workflow than another.
Over time though, I’ve had a few people approach me about editing for them that had some terrible workflows, or were using actions or presets in such a way that actually wasted their own time and would have been almost impossible for me to recreate.
So I thought I’d compile a list of some editing do’s and don’t’s and some best use practices when it comes to presets and actions.
Actions and Presets
Actions and presets can either be a time-saver or a time-waster for you depending on how you use them.
It’s a time-saver when:
You can apply a preset or action and don’t need to make too many adjustments. Really it’s that simple. It has to speed up your workflow and get you closer to where you want to be with 1-2 clicks of the mouse.
It’s a time-waster when:
If you apply the preset or action and spend more time putzing with it than you did with just basic white balance and exposure, it’s probably costing you more time than it’s worth. Either:
- Find a different preset that’s closer to your desired outcome
- Take the time to dissect the preset and figure out which parts of it you don’t like, and adjust it to your tastes. Then save a modified version.
Sometimes you don’t even have to use the preset itself to get desired results. If you’ve purchased a set of presets that come with calibration files, sometimes just applying a calibration file is enough to get you close to your final edit.
And sometimes the built-in Lightroom calibration options are enough as well, so make sure to check those out.
The same goes with actions. If you’re constantly adjusting the actions you’re applying, find a different one or dissect the one you’re using and make adjustments until it’s closer to what you want your final product to look like.
If you’re dead set on a specific style but the preset or action you’re using to achieve that style is taking a long time to process, here’s a little tough love: pick a different style.
When doing basic edits in Lightroom and using presets, ideally you want to spend less than 20 seconds per image.
So if the style you’re trying to achieve takes longer than that per image, find a different style. (Or, learn how to shoot in such a way that’s more conducive to the post-processing you’re doing.)
Same with actions in Photoshop. You don’t want to spend more than 20 seconds per image if you can help it, and ideally you want an action you can batch process on all your images so you can just push play and let it do its thang.
Most photographers I know seriously lose a ton of time forcing a certain style that just doesn’t work.
Don’t fall into this trap or you will waste hours in front of the computer and thousands of dollars in missed opportunities.
What NOT To Do
We talked about when presets and actions are helpful or not helpful, but there are a few other things that would indicate whether or not you need to simplify your workflow.
Let’s start with an example of a bad workflow.
 I didn’t take this photo, I found it on Unsplash.com and liked it.
Stupid Workflows
I had a potential client approach me once who did their basic editing in Lightroom, and then opened the RAW image in Photoshop via Lightroom (there’s an option to edit in Photoshop from Lightroom if you are editing the original file and not a Smart Preview in Lightroom).
But before they did this, they opened a saved Photoshop file (.psd file) that had a few different layers on it already applied to a template image.
The layers weren’t flattened, so you could still adjust them as needed – it adjusted things like white balance, exposure/tone, etc. and a few other small things.
Then, once they opened the images in Photoshop from Lightroom, they highlighted the layers on top of the template image in the template psd file and drug them onto the files she opened from Lightroom.
From there they would adjust the layers as needed to achieve the final look she wanted, do the retouching and skin smoothing, and save the file as a jpeg.
If you had a hard time keeping up with exactly what was going on there, there’s a reason for that. It’s a terrible workflow.
Why would you ever apply an ‘action’ to an image by dragging a set of adjustment layers onto each and every image you edit? It’s time consuming.
You should just be able to play the action you want on each image, make some minor adjustments if needed, and save the image. DONE.
Useless Actions
Another thing to stay away from is using actions that really don’t make that much of a difference.
How can you tell? Apply an action to an image, and then take the same image with all the same edits and don’t apply the action to it.
Then get a print of each image. If you can’t tell which one had the action applied and which one didn’t, it’s a waste of time.
You could also have someone edit the same image twice and apply the action to one image and not to the other and make you guess which one had it and which one didn’t.
But if you really want to know if what you’re doing makes a difference or not, try the print test.
As a rule of thumb, most actions played at 25% opacity or less won’t make a huge difference in the end product. (Again, there are exceptions to this, this is just what I’ve found over time.)
So look a little closer at some of the actions you’re using at less than 25% opacity and consider whether or not you actually need to use them or if it’s just wasting time.
Using a Multitude of Presets in Lightroom
You really only want to use one main preset for all of your images. The more time you spend selecting the right preset for each and every image, the more time you waste.
You ideally want one preset that you apply to everything across the board that you make minor tweaks to as needed.
This can be a preset that you make yourself or one that you’ve purchased, or a bastardized version of one that you purchased, whatever it may be.
Just try to stick with the same one so you’re not constantly wasting time applying and re-applying different presets. Again, saving a few seconds per image is important when you only want to spend a few seconds editing each image in the first place.
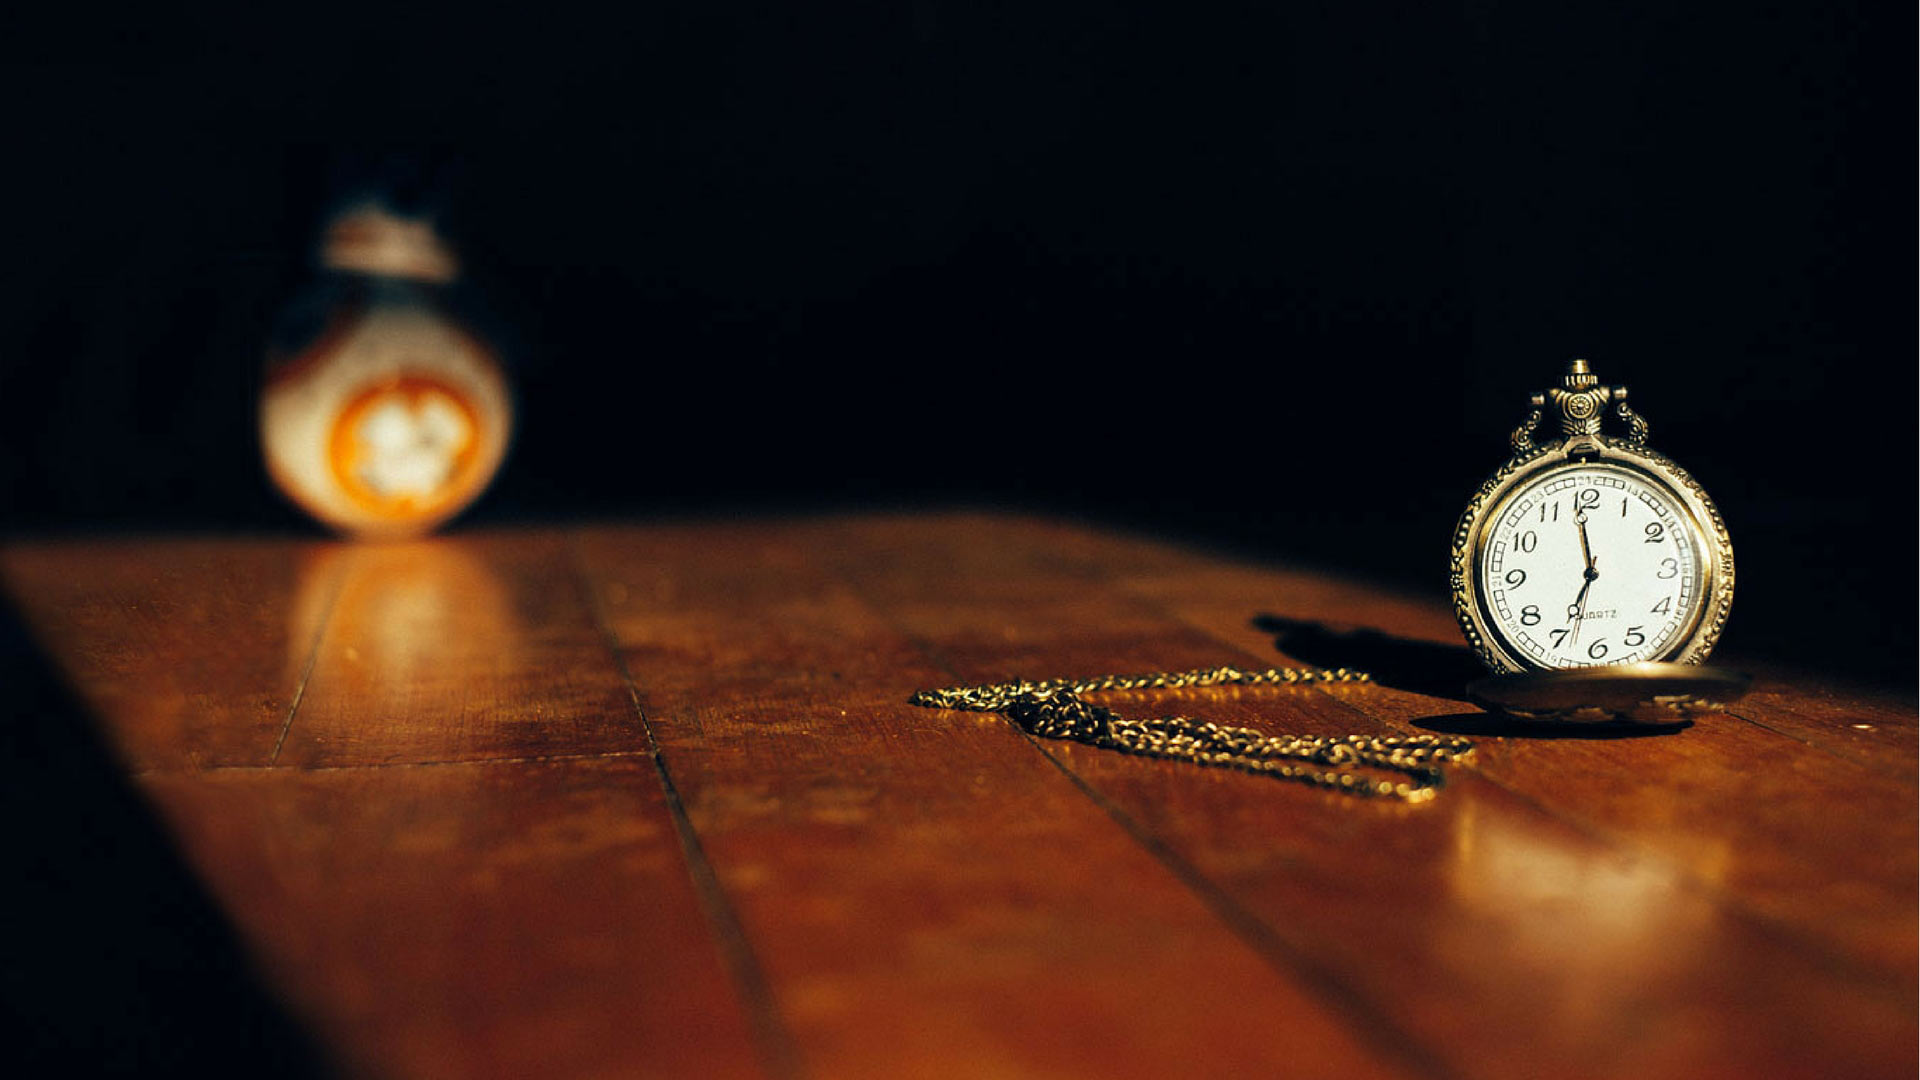
The pocketwatch in this photo was a gift from a friend. Cameo appearance by BB-8.
Processing Large File Types in Photoshop
If you’re retouching images, lossless and other large file types (such as RAW files and TIFFs) will take longer to edit.
There’s more data contained within every image, and Photoshop has to crunch through that data every time you make an adjustment to an image, run an action, etc.
For example. I have an action in Photoshop that essentially functions as a skin smoothing action.
It literally took close to 5 minutes to run the action on a TIFF file, whereas it would take maybe 15 seconds to run it on the same image in jpeg format.
Yes, TIFF files are lossless and will keep better over time. So edit the image as a jpeg and when you’re done doing what you want to it, save it as a TIFF. BOOM, problem solved.
Lightroom is a bit of a different story, and it doesn’t seem to really matter too much whether you’re editing large file types vs. small file types.
So in this instance, I definitely prefer editing RAW images because you’ll always get a better edit on a RAW image in Lightroom than you will a jpeg.
Always. I promise you.
Examples of Non-Stupid Workflows
So we’ve covered some do’s and don’t’s that will save you time. Here are some workflows I’ve come up with that seem to work pretty well for various types of photography.
But before we start, a couple quick notes, first on culling portrait sessions. Since you generally shoot less images per session than you would with a wedding, whether you cull in Photo Mechanic or Lightroom won’t really make as much of a difference.
Just make sure you generate previews and cull in the Library module and not in Develop module.
Second, I mention the Photoshop plugin Portraiture quite a few times. It’s an amazing skin smoothing software that allows you to add a filter and quickly apply skin smoothing to any image. You can check out more details about it here.
Boudoir Photography
Image credit: Jolene with Jolene Dombrowski Boudoir.
- Import all imges into Lightroom
- Have it set up so that Lightroom applies a preset of your choice and/or creation to each image upon import
- Cull images in Lightroom
- Edit the remaining images in Lightroom using the Motibodo keyboard
- Again, stick to adjustments you can make with the keyboard and only deviate from those if it’s absolutely necessary
- Export images as jpegs
- For high res files, don’t limit the pixel height or width and set the resolution to 300 pixels per inch in the Image Sizing section
- Take the jpegs and open all of them in Photoshop
- For each image in Photoshop:
- Retouch the images
- Blemish removal, background fixes, etc.
- Apply portraiture to the image
- I like to do this after I do the retouching because it can help smooth over miscellaneous artifacts that are created during the retouching process
- Save image as jpeg or TIFF
- Retouch the images
If you want Black and White copies of your images, I suggest batch processing the final retouched images with a Black and White action in Photoshop (though if you do this, definitely save the image as a jpeg after you’re done retouching/applying portraiture and not a TIFF file, because a TIFF file will take longer to run the B&W action on).
Non-Boudoir and Non-Newborn Portrait Photography
Image Credit: Andy Stenz of AndyStenz.com.
- Import all imges into Lightroom
- Have it set up so that Lightroom applies a preset of your choice and/or creation to each image upon import
- Cull images in Lightroom
- Edit the remaining images in Lightroom using the Motibodo keyboard
- Again, stick to adjustments you can make with the keyboard and only deviate from those if it’s absolutely necessary
- Export images as jpegs
- For high res files, don’t limit the pixel height or width and set the resolution to 300 pixels per inch in the Image Sizing section
- Take the jpegs and open all of them in Photoshop
- For each image in Photoshop:
- Retouch the images
- Blemish removal, background fixes, etc.
- However, for portraits, I suggest only doing this for close-up images or images that will go into an album or a print. Don’t bother doing it for the images that are further away, won’t get printed, or will basically remain a digital copy for the remainder of its life.
- Apply portraiture to the image
- I like to do this after I do the retouching because it can help smooth over miscellaneous artifacts that are created during the retouching process
- This step is also optional for portraits, and really just depends on whether or not you want skin smoothing applied or not. For senior portraits it can be nice, for family portraits, it may not matter as much. Basically, it’s up to you and if you want the end product to look smooth and finished or if you’re ok with it being a bit more natural.
o Save image as jpeg or TIFF
- Retouch the images
Same as boudoir, if you want Black and White copies of your images I suggest batch processing the final retouched images with a Black and White action in Photoshop (though if you do this, definitely save the image as a jpeg after you’re done retouching/applying portraiture and not a TIFF file, because a TIFF file will take longer to run the B&W action on).
Newborn Photography
Heather from Heather Elizabeth Studios
Newborn skin tones are tricky, so this workflow focuses around correcting those as best as possible.
- Import all imges into Lightroom
- Have it set up so that Lightroom applies a preset of your choice and/or creation to each image upon import
- Cull images in Lightroom
- Edit the remaining images in Lightroom using the Motibodo keyboard
- For newborn editing, it’s going to be more difficult to just stick to adjustments easily available on the Motibodo keyboard because you’ll want to adjust the HSL panel to fix some of the newborn skin issues.
o Edit the Orange/Red/Yellow color channels in the HSL panel to adjust for some common newborn skin issues such as redness, jaundice, etc.
- For newborn editing, it’s going to be more difficult to just stick to adjustments easily available on the Motibodo keyboard because you’ll want to adjust the HSL panel to fix some of the newborn skin issues.
- Export images as jpegs
- For high res files, don’t limit the pixel height or width and set the resolution to 300 pixels per inch in the Image Sizing section
- Take the jpegs and open all of them in Photoshop
- For each image in Photoshop:
- Retouch the images
- Blemish removal, background fixes, flaky skin fixes, blanket and background extensions, etc.
- Fix skin tones
- Use the brush tool set to ‘color’ mode to continue to fix skin tone blotches and uneven skin tones
- Use the brush tool and the Hue/Saturation adjustment to desaturate red areas and fix the color of any area that may have turned a bit gray
- Apply portraiture to the image
- I like to do this after I do the retouching because it can help smooth over miscellaneous artifacts that are created during the retouching process
- Save image as jpeg or TIFF
- Retouch the images
Same as before, if you want Black and White copies of your images, I suggest batch processing the final retouched images with a Black and White action in Photoshop (though if you do this, definitely save the image as a jpeg after you’re done retouching/applying portraiture and not a TIFF file, because a TIFF file will take longer to run the B&W action on).
Wedding Photography
Image credit: Acorn Photography and Cinema
- Cull the images in Photo Mechanic
- Import the images you wish to edit into Lightroom
- Have it set up so that Lightroom applies a preset of your choice and/or creation to each image upon import
- Edit the images in Lightroom using the Motibodo keyboard
- Again, stick to adjustments you can make with the keyboard and only deviate from those if it’s absolutely necessary
- Export images as jpegs
- For high res files, don’t limit the pixel height or width and set the resolution to 300 pixels per inch in the Image Sizing section
- Open only the images that are going to be printed or put into an album in Photoshop (you do NOT need to retouch every single wedding image, that is way too time intensive for images that will sit on a disc and never see the light of day)
- Retouch the images
- Blemish removal, background fixes, etc.
- Apply portraiture to the image
- I like to do this after I do the retouching because it can help smooth over miscellaneous artifacts that are created during the retouching process
- Save image as jpeg
- Since your client will most likely be receiving a USB or CD with their images, saving as TIFFs will take up a lot more space than jpegs will
- Retouch the images
- Import the images you’ll be putting into the album into Smart Albums
- Set the number of pages in Smart Albums, size of album, and use their auto design feature to design your album super quick and easy
So, there you go.
8 years of knowledge condensed into one blog post. If you read through this and found yourself making some of the mistakes I mentioned, it might be time to revamp your editing workflow a bit.
Remember, every hour you spend editing is an hour you don’t get to spend shooting or marketing or spending with your family. So do yourself a favor and simplify it as much as you can, or outsource it to me so I can take it off your hands entirely.
If your workflow is a bit unwieldy, I’ll do my best to help you figure out an alternative workflow that saves time but still preserves your style and high quality product.